Wednesday, February 16, 2011

Attaching the Sleeves

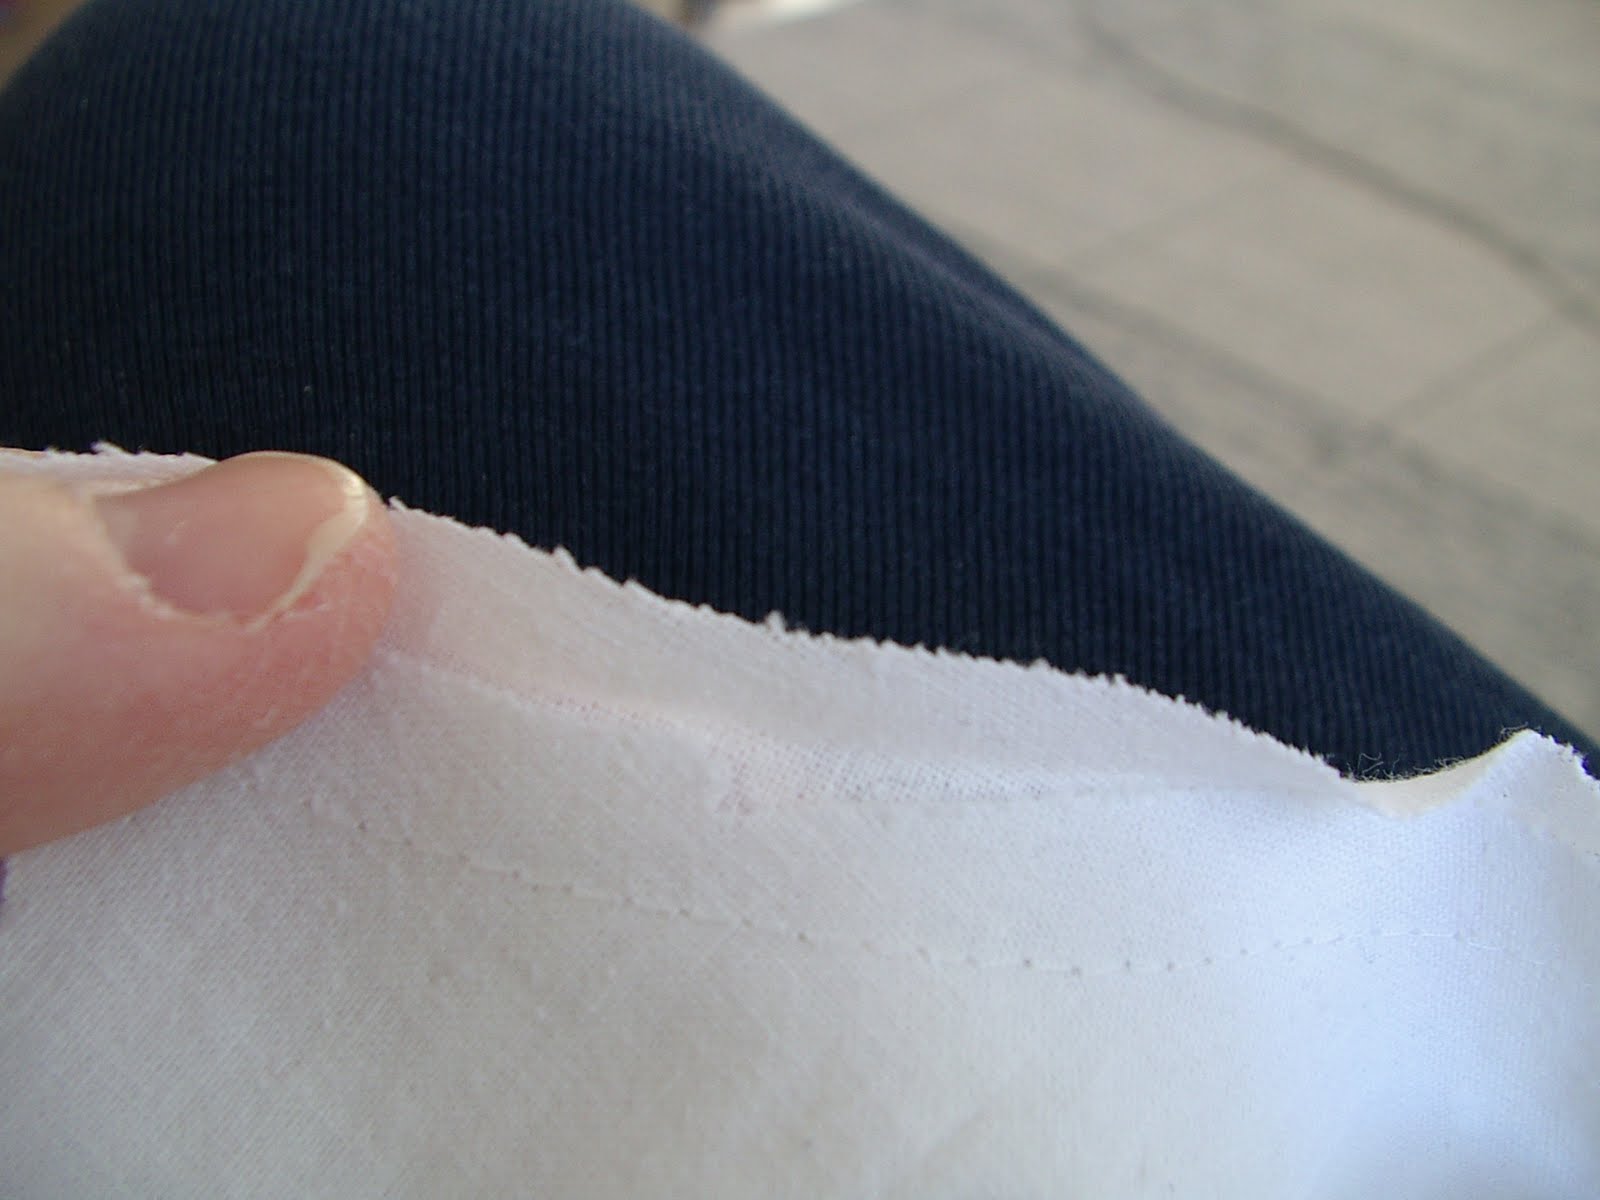
I decided to attach the sleeves to the body by the method Peter shows at Male Pattern Boldness. With the sleeve face up, iron a hem. My seam allowance is 1.5cm so I folded it 6mm. With right sides facing together pin the fold to the raw edge of the armhole. Check that the placket will be at the back of the shirt. My pattern didn't have any notches to match so I just folded the sleeve in half to find the middle and kind of just pinned it around. Starting from the middle I sewed out to the the end of the armhole with a 9mm seam and then did the same with the other half.

Open the folded edge and refold it over the raw edges.

Pin the edge down. (Yes I know I use a lot of pins but with bad eyesight and winter sunlight I'd rather do as little unpicking as possible.)

On the wrong side topstitch close to the loose edge. I sewed from one end to the other. When I come to a thicker part I use this handy bump helper first before the bump and then after it.

First sleeve done.

Monday, February 14, 2011

Zentangle Inchie # 2

I don't know if I should call these inchie zentangles or zentangle inchies! I guess I should get a thinner pen nib as I can't draw too much in the small space with the ones I have. I was hoping I could use up my son's old felt pens.

Sunday, February 13, 2011

Continuous Sleeve Placket

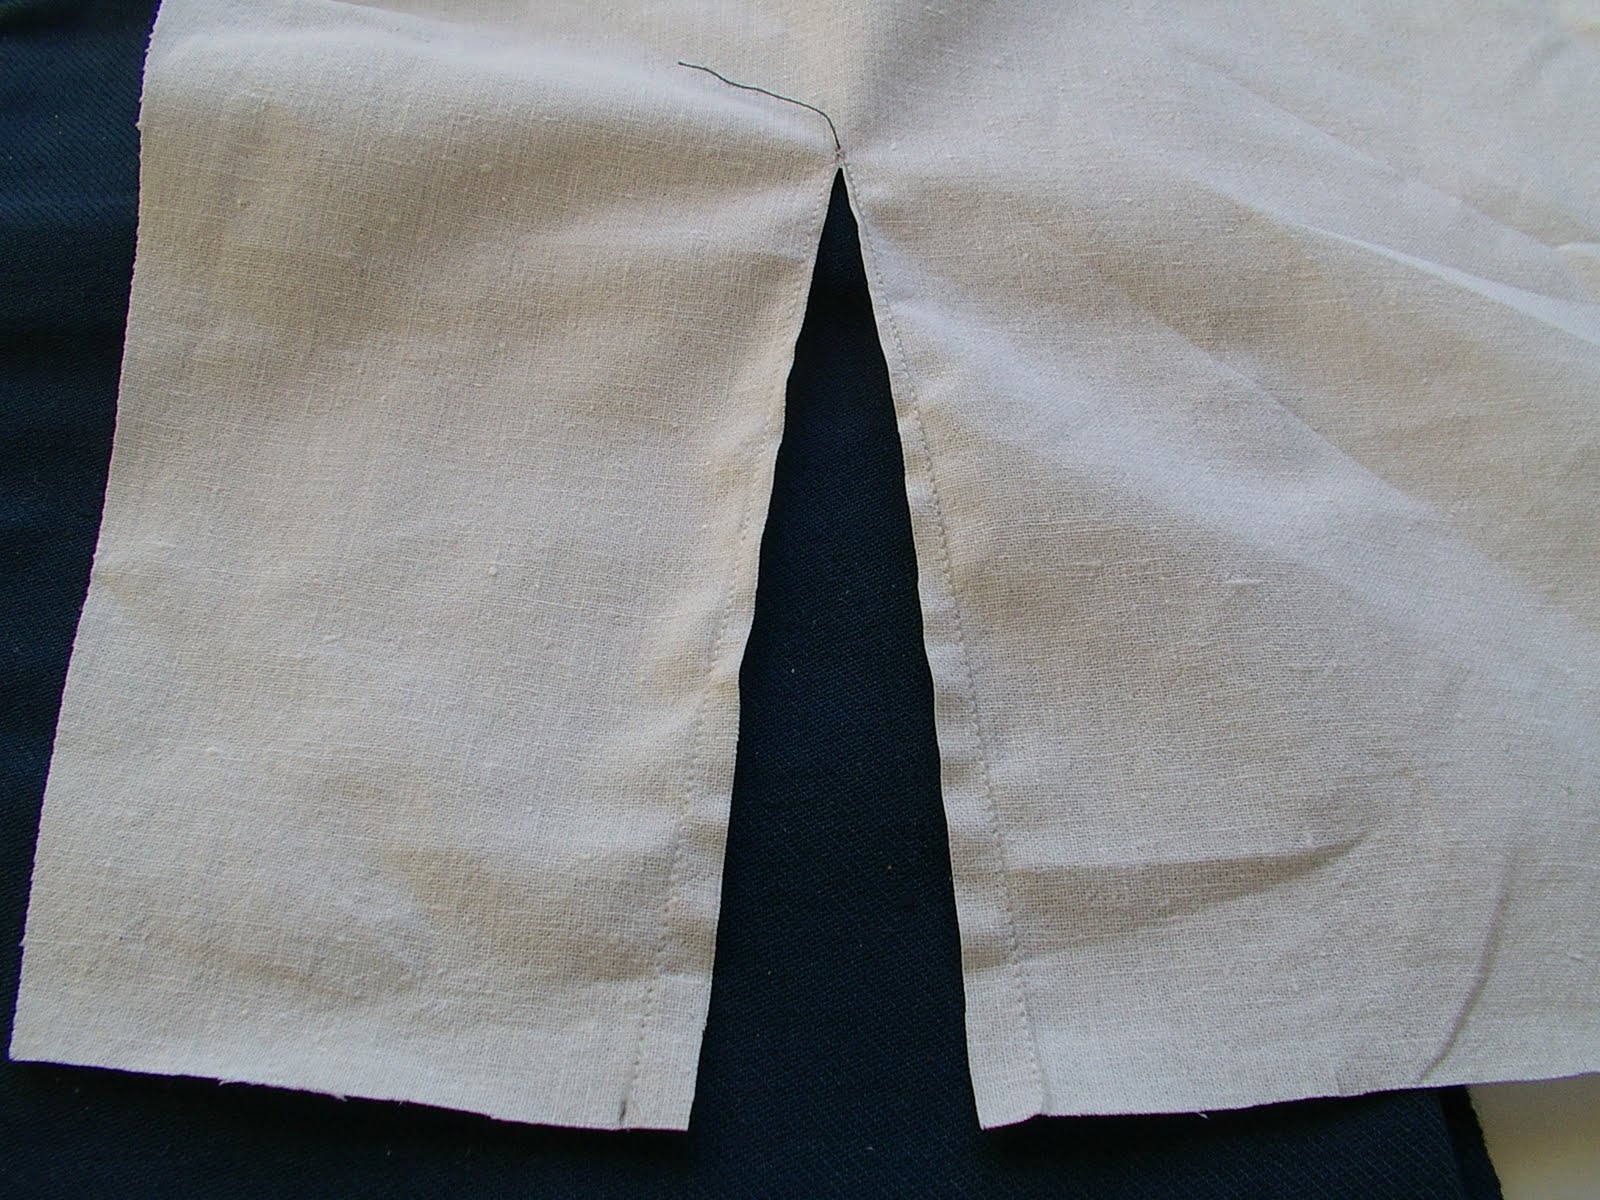
The pattern I'm using has a continuous sleeve placket. It is a rectangular piece of material that is twice the length of the vent. Unfortunately the pattern gave the length for the shorter sleeve and I didn't think to check and so I had to cut out new ones. To start with, draw the cutting line on the sleeve. Then about 6mm from the bottom edge of that line reinforce the vent slash by sewing with a shorter stitch length up to the point of the slash line. Turn the material around and sew down to the edge again. Cut up to the point along the slash line without cutting through the sewing line.

Iron the placket in half lengthwise. Open it and fold one edge close to the middle and iron this fold.
Unfold the placket, spread open the sleeve vent and pin the uncreased right side to the right side of the sleeve. The middle point of the sleeve edge needs to be about 8-9mm away from the edge of the placket. (I have a piece of black thread along the edge of sleeve to show that the edges don't meet.) Sew the seam allowance distance from the edge of the placket piece. Once you get to the middle it will be tricky because there is too much material to lay flat. I tried googling how to avoid this but wasn't able to find any answer. So I just did the best I could.

Iron the seam allowance towards the placket piece. Pull the placket piece around to the wrong side of the sleeve and turn the prefolded edge under and pin down. Top stitch, being careful to hide the other seam. With right sides together, fold the placket in half and sew a short diagonal seam at the top.


Not too difficult and turned out ok for the muslin. I might try different plackets to see if I like something else better.

I used the spell check and it high-lighted almost everything! I'll try again tomorrow.

Friday, February 11, 2011

Yoking Around

I finally gave up fiddling with the shirt pattern because other people in MPB Men's Shirt Sew-Along over on Peter's blog have already got their muslin finished. So I pinned some of the pattern pieces to an old sheet I bought from a charity store to use as a muslin. I've only cut out the two yoke pieces, the two front pieces and the back. I'll do the rest later. I might not even do the collar until my son has a chance to try the muslin on so I can see if the neck opening is the right size and at the correct height.

I started by pinning (the green pin) and then basting the pleats on the back piece. Then I put the back piece between the two (wrong sides out) yoke pieces and sewed through the three layers. I read somewhere that you should press all of your seams on both sides before moving on to the next step, so that is what I'm going to do.
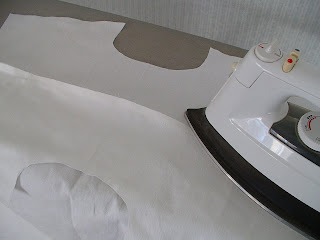
Next was ironing to turn the seam allowance towards the yoke. I turned the whole thing over and ironed the other side the same way. After that I put both yoke pieces wrong sides together and ironed them from the outside. I decided to do the top-stitching on the yoke now because there wasn't as much material to move around. As this is the muslin I did the row of top-stitching and didn't bother to look where it should be. I just went and checked four of my son's store-bought shirts and the top-stitching on them is right at the edge and I did it 7 mm away! Oh well.

There is a way of finishing the shirt yoke called the burrito. I tried to look at it from people's blogs because I wasn't getting it. The pattern I'm using doesn't have a separate piece for the button 'placket' (is it then a placket?) so I didn't have to worry about that. The way I did it was to have the wrong sides of the front and back pieces facing and pin them together. Opening up the two yoke pieces I laid the wrong sides of the yokes down on the table.

Then I took the back piece and rolled it up and laid it on the yoke piece that was already pinned. I did the same to the front piece so that the pins were laying on the table.

I brought the unpinned yoke edge up and over the rolled pieces to meet with the pinned edges and pinned it to them. I sewed the seam, ironed it and repeated the steps with the other front piece.

Everything was turned right side out, ironed and I'll top-stitched close to the edge when there's daylight again!

Oops. I just read on Peter's blog that you should start by stay-stitching the neckline. I've done it now.

Monday, February 7, 2011

Inchies and Zentangles

I recently heard of inches and zentangles. Inchies are small pieces of art. As their name indicates they are only an inch by an inch. Zentangles are drawings with repetitive patterns but I thought that they were suppose to repeat the way I had done above. I liked the idea of both inchies and zentangles and thought I'd try combining them. As I'm not creative, the smaller the piece of drawing I have to do, the better!

Sunday, February 6, 2011

Done and Over With


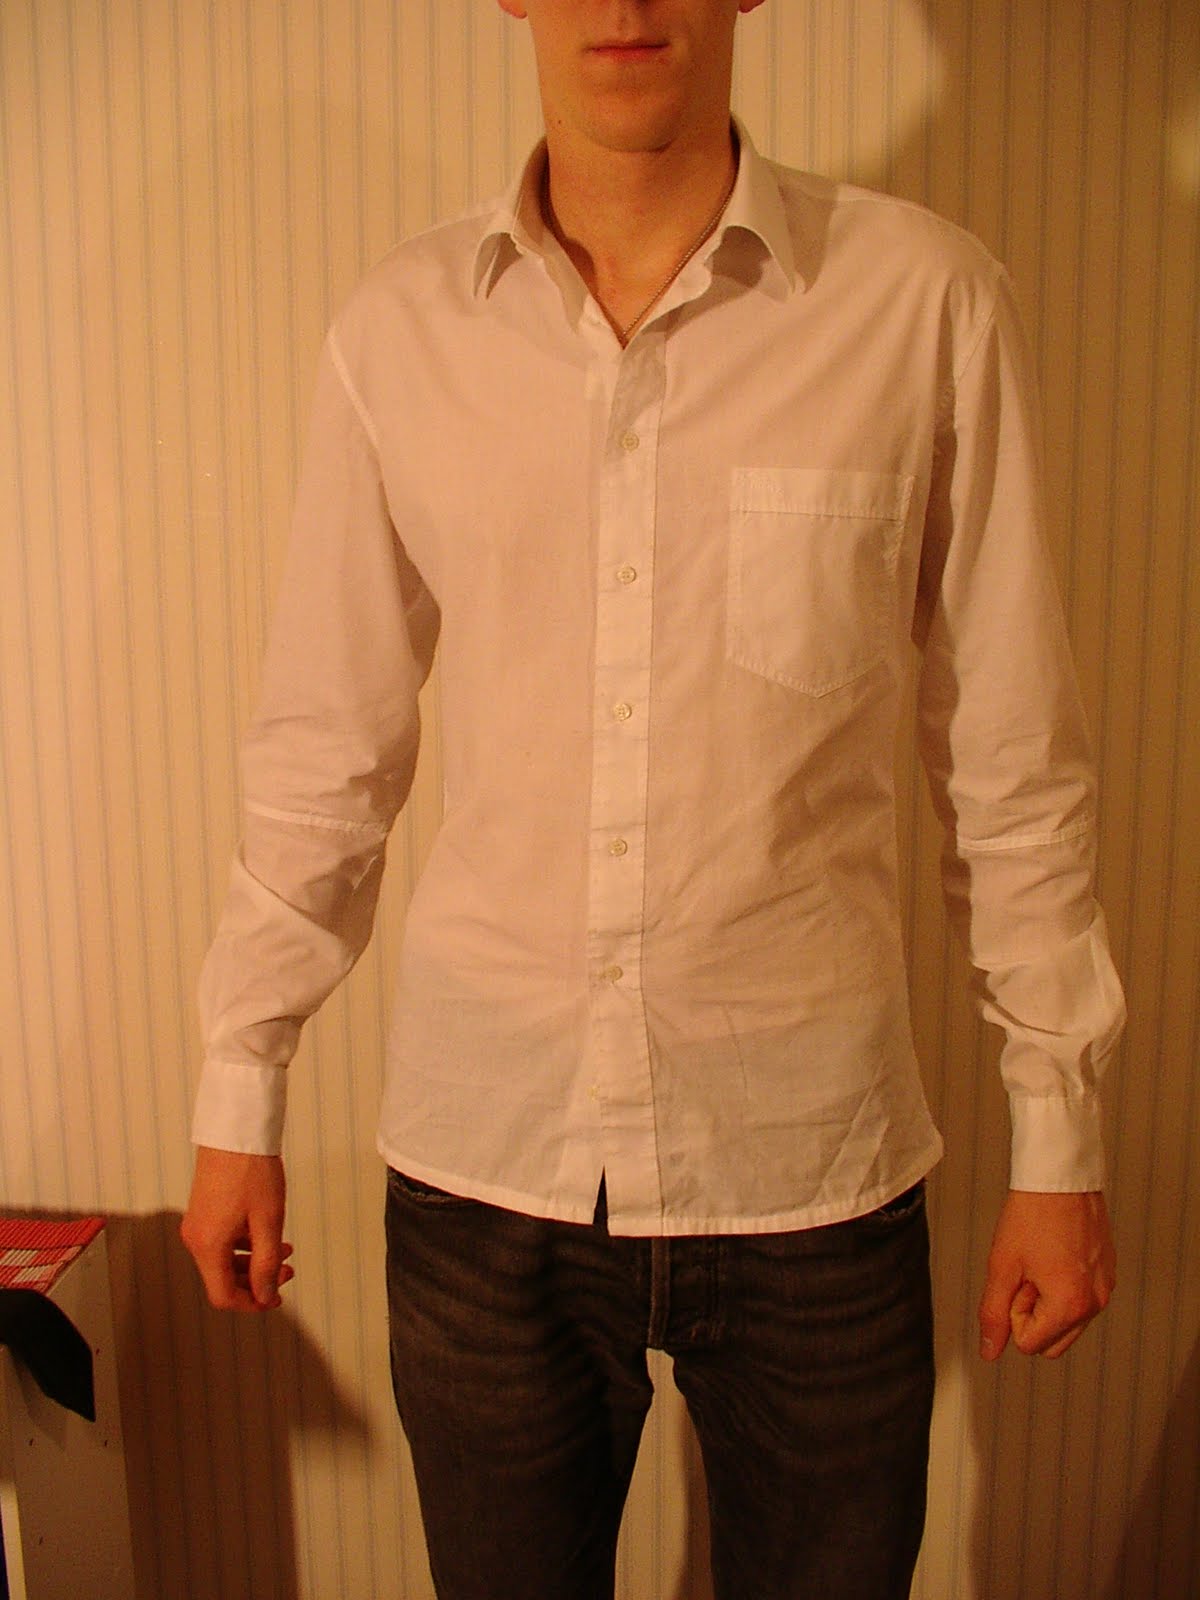
The sleeves turned out well even though they were 1 cm longer than we thought would be necessary. It was nice seeing long enough sleeves on my son! I made a mistake with narrowing the sides and didn't narrow them enough. Fortunately! I thought that the shirt was too tight in one place and I don't know if he would have been able to wear it if I had narrowed it as much as planned.

Now that the shirt sleeves were long enough my son noticed that the suit jacket sleeves could be longer. But that will keep until he needs the suit again. Hopefully that won't be for years. And the shoulders are too wide, and the ....

Monday, January 31, 2011

Suit Shirt

My son is tall and has long arms so most shirt sleeves are too short for him. He's attending a funeral next weekend and when he was home last weekend he tried on the only plain white shirt he has. The sleeves were quite short and he would have liked them showing out of the suit sleeve. So I suggested that I just add some material on to each sleeve. He wouldn't be taking his suit jacket off and no one would know.


I remembered that I had cut a sleeve off of another white shirt to make it into a short-sleeved shirt. I never finished it but I thought that I could use the sleeve material for the extension piece. Unfortunately the sleeves are different widths so I had to cut the suit shirt just above the sleeve placket to get the same width. Then came the problem of how to attach the lower edge to the new piece because they were different widths too. I decided to try the upper edge first to see if it worked before figuring out the lower one. I put the cuff piece inside the sleeve so I could sew the wrong sides together as I wanted to make a flat-felled seam. Then I pulled the cuff piece out so I could iron the new seam to have it easier to trim one of the edges before turning the other one over it.

I was trimming away when it hit me. Duh! Why not just use the the other cuff piece as the cuff piece for the suit shirt and I wouldn't have to fuss with getting the lower edges to match. I'll have to wait to see what my son says but other than switching the buttons if he wants, I don't see that it will matter. (Ok the shirt is flat-felled seamed and the cuff piece serged but who's going to peek in his jacket sleeve?) The sleeve is now 9 cm longer.

Next is trying to narrow the shirt. Sigh.

Saturday, January 22, 2011

Shirtmaking

For a few years I've been saying to my son that I should make him a shirt as his arms are too long for store-bought ones and he's so thin. I tend to put off sewing because of my machine, but I need to get started. I've wanted my own pattern, so I'd have the directions and photo too and I finally found one in a Suuri Käsityö Kerho magazine from the recycling center. It's from 1982 though, so I hope it will do.

I started by finding the pieces on the pattern page and writing the numbers on the edge so that they would be easier to find again. I've traced all of the pieces out. I couldn't remember what langansuunta was in English so I just put a T (for thread) everywhere it was written and waited until I had the computer on to look what it was. Grainline of course! Tomorrow's task is to take my son's measurements and compare them to the pattern pieces to see what needs to be changed. I don't know if I'll be able to change them very well but I hope so.

I just sent off my request to Peter at Male Pattern Boldness for an invite to the MPB Men's Shirt Sew-Along. So hopefully seeing all of the other shirts will inspire me.

Today's Question: Do you have any shirt making tips?

Sunday, January 16, 2011

Eatting Carrots

I've been eating too much wheat products lately and I was craving something fresh. Not interested in a salad I thought I'd try making a dip out of my veggies. I took a fat carrot and sliced it thinly on the diagonal for my "chips". I wasn't sure how I wanted the dip spiced so I decided to make it first, see how it tasted and then add spices. I liked it so much how it was that I didn't add anything else.

Fresh Dip

2 dl unsalted mixed nuts (I used raw)
½ red pepper, cut in chunks
1 avocado, cut in chunks
1 large mushroom, cut in chunks
1 tomato, cut in chunks
1 tsp lemon juice, or to taste
salt and pepper, to taste

Process nuts in a food processor until small bits. Add rest of ingredients and process until the consistency is to your liking. Serve with carrot chips.


I've been tempted to make carrot squares for a while now as I haven't made them in many years. I seldom frost things unless it is a birthday cake. I thought I'd make the cream cheese frosting to go with it as I've never made it. I licked the beater and didn't like it at all. But I frosted the carrot squares with it and hoped for the best. I was really surprised that once the frosting was on the squares it didn't taste cheesy at all.

Friday, January 7, 2011

Cheese and Crackers

I would like to find a versatile nut cheese recipe. Though this Simple Almond Cheese tasted good and was otherwise easy to make, it wasn't worth the hour it took to peel 2½ dl of soaked almonds. The recipe says to pop off the peels but only about 5 of mine slipped off. The rest I had to scratch off. Good thing for podcasts! I used dried dill instead of garlic. I think I'll try them again but either use unpeeled almonds or buy them peeled.


Spicy Sesame Crackers
2 dl flour
1 tsp baking powder
½ dl oat flour (I made it from rolled oats)
1/4 dl sesame seeds
1 ½ tsp pizza spice
black pepper, to taste
chili powder, to taste
dash salt
50 g margarine
3/4 dl milk

Preheat oven to 200C. Sift flour and baking powder together. Add oat flour, sesame seeds and spices. Cut in margarine until well mixed with dry ingredients. Add milk and stir to blend together. Flour board and roll out dough until thickness desired. (I try to roll it out as thin as possible, but that is just me.) Can use cookie cutter to cut shapes or just cut into squares or other shapes. Prick each cracker twice with fork. Bake 8 to 10 minutes or longer if thick, but check after 8 minutes to see how they are doing.