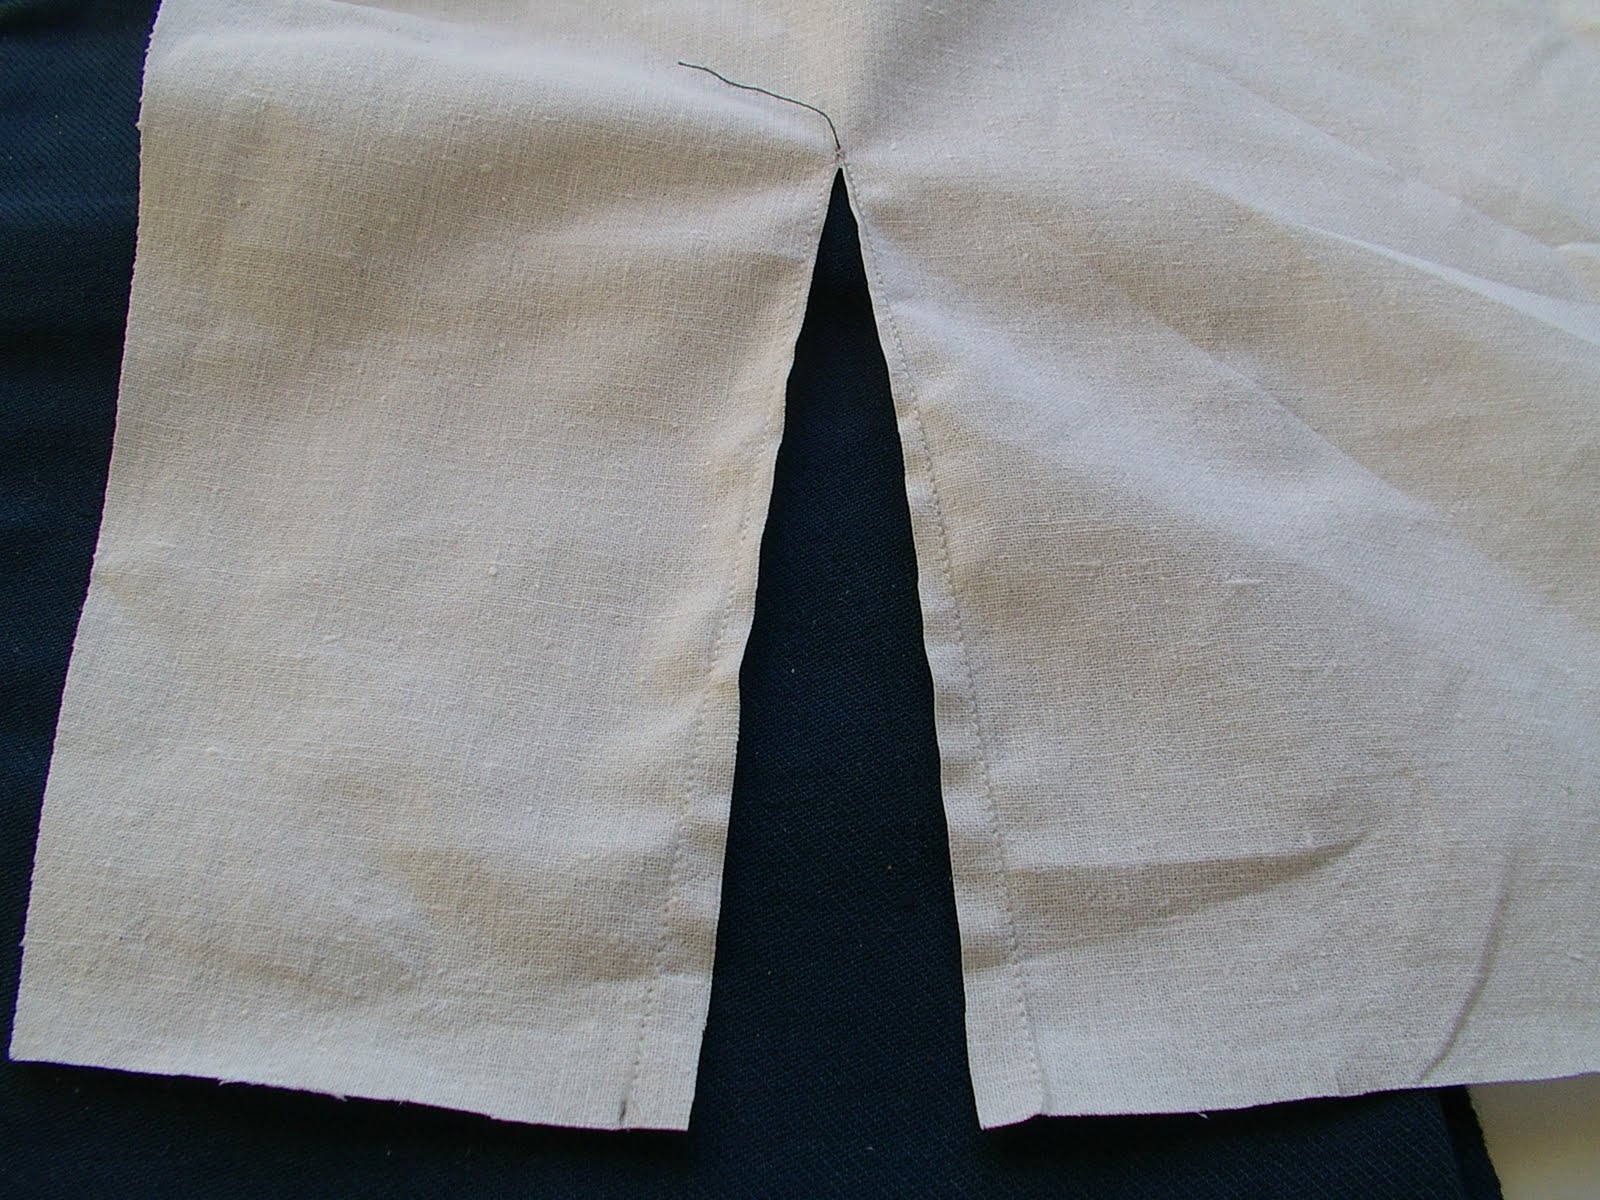
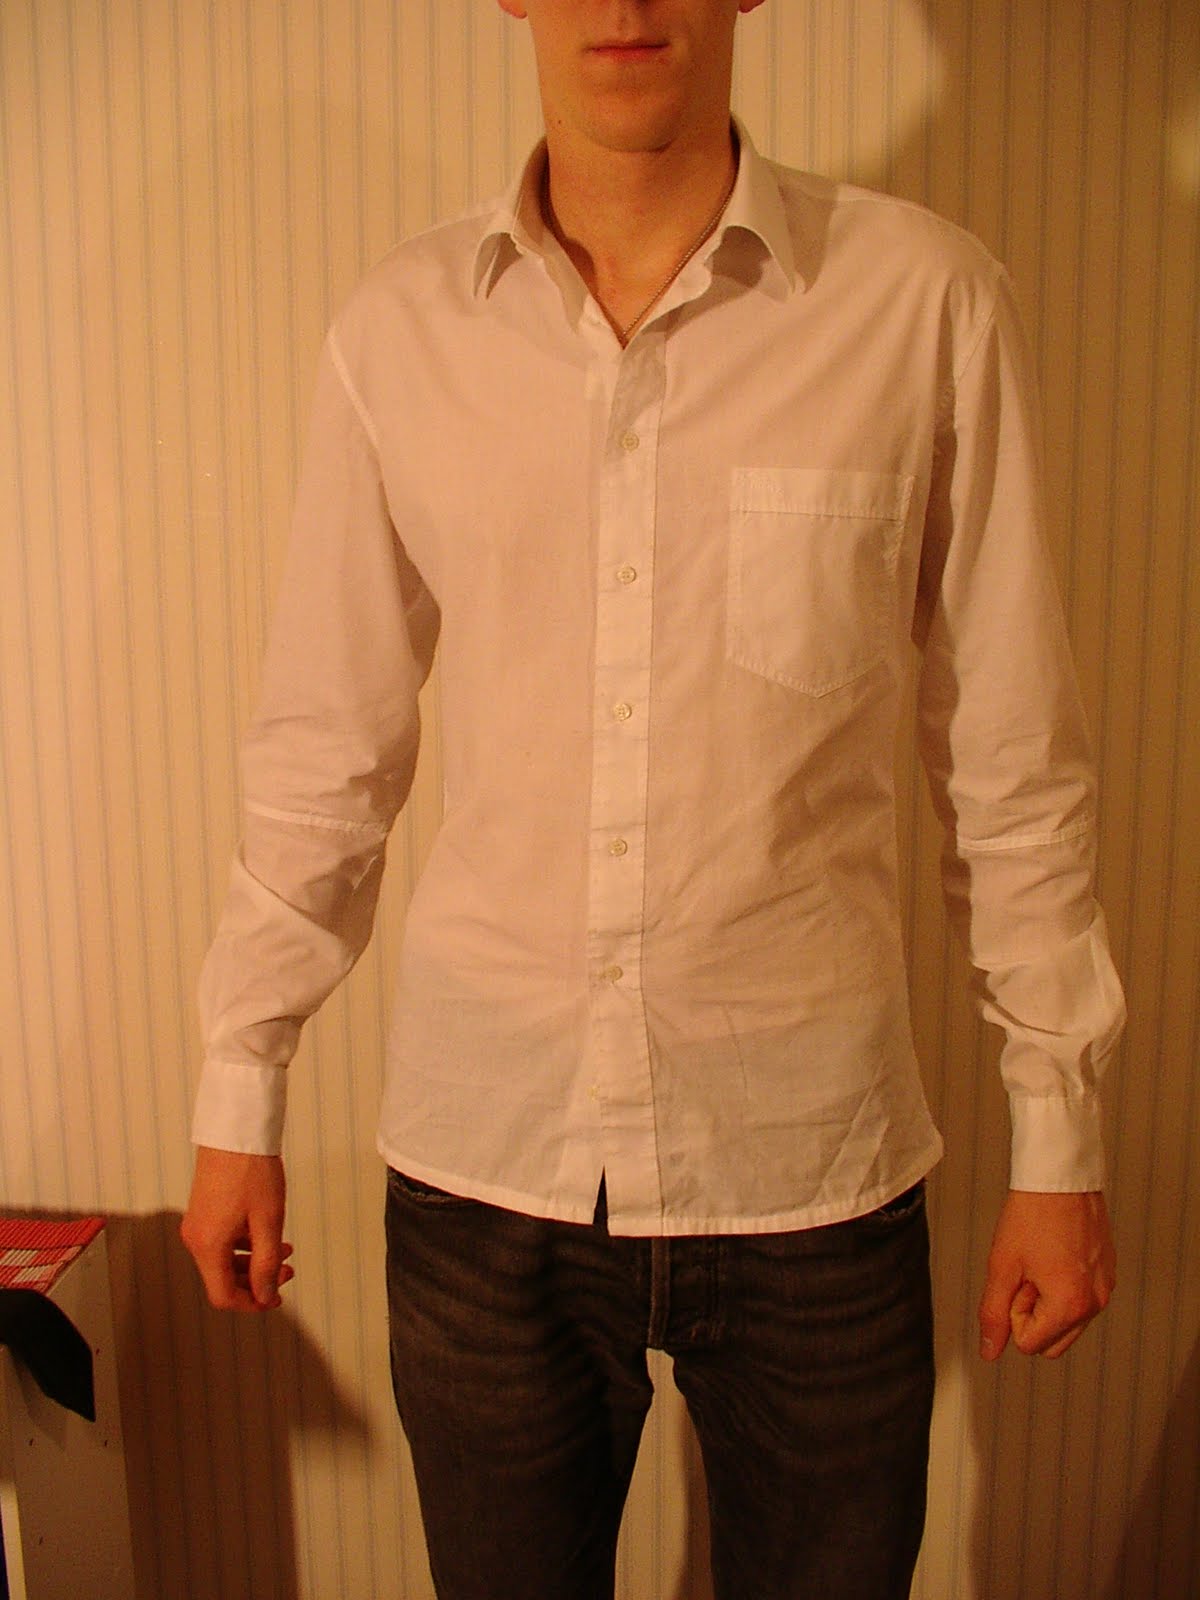
I finally gave up fiddling with the shirt pattern because other people in
MPB Men's Shirt Sew-Along over on
Peter's blog have already got their muslin finished. So I pinned some of the pattern pieces to an old sheet I bought from a charity store to use as a muslin. I've only cut out the two yoke pieces, the two front pieces and the back. I'll do the rest later. I might not even do the collar until my son has a chance to try the muslin on so I can see if the neck opening is the right size and at the correct height.

I started by pinning (the green pin) and then basting the pleats on the back piece. Then I put the back piece between the two (wrong sides out) yoke pieces and sewed through the three layers. I read somewhere that you should press all of your seams on both sides before moving on to the next step, so that is what I'm going to do.
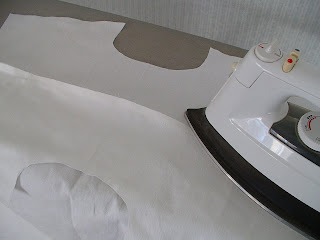
Next was ironing to turn the seam allowance towards the yoke. I turned the whole thing over and ironed the other side the same way. After that I put both yoke pieces wrong sides together and ironed them from the outside. I decided to do the top-stitching on the yoke now because there wasn't as much material to move around. As this is the muslin I did the row of top-stitching and didn't bother to look where it should be. I just went and checked four of my son's store-bought shirts and the top-stitching on them is right at the edge and I did it 7 mm away! Oh well.

There is a way of finishing the shirt yoke called the burrito. I tried to look at it from people's blogs because I wasn't getting it. The pattern I'm using doesn't have a separate piece for the button 'placket' (is it then a placket?) so I didn't have to worry about that. The way I did it was to have the wrong sides of the front and back pieces facing and pin them together. Opening up the two yoke pieces I laid the wrong sides of the yokes down on the table.

Then I took the back piece and rolled it up and laid it on the yoke piece that was already pinned. I did the same to the front piece so that the pins were laying on the table.

I brought the unpinned yoke edge up and over the rolled pieces to meet with the pinned edges and pinned it to them. I sewed the seam, ironed it and repeated the steps with the other front piece.
Everything was turned right side out, ironed and I'll top-stitched close to the edge when there's daylight again!
Oops. I just read on Peter's blog that you should start by stay-stitching the neckline. I've done it now.
 I decided to attach the sleeves to the body by the method Peter shows at Male Pattern Boldness. With the sleeve face up, iron a hem. My seam allowance is 1.5cm so I folded it 6mm. With right sides facing together pin the fold to the raw edge of the armhole. Check that the placket will be at the back of the shirt. My pattern didn't have any notches to match so I just folded the sleeve in half to find the middle and kind of just pinned it around. Starting from the middle I sewed out to the the end of the armhole with a 9mm seam and then did the same with the other half.
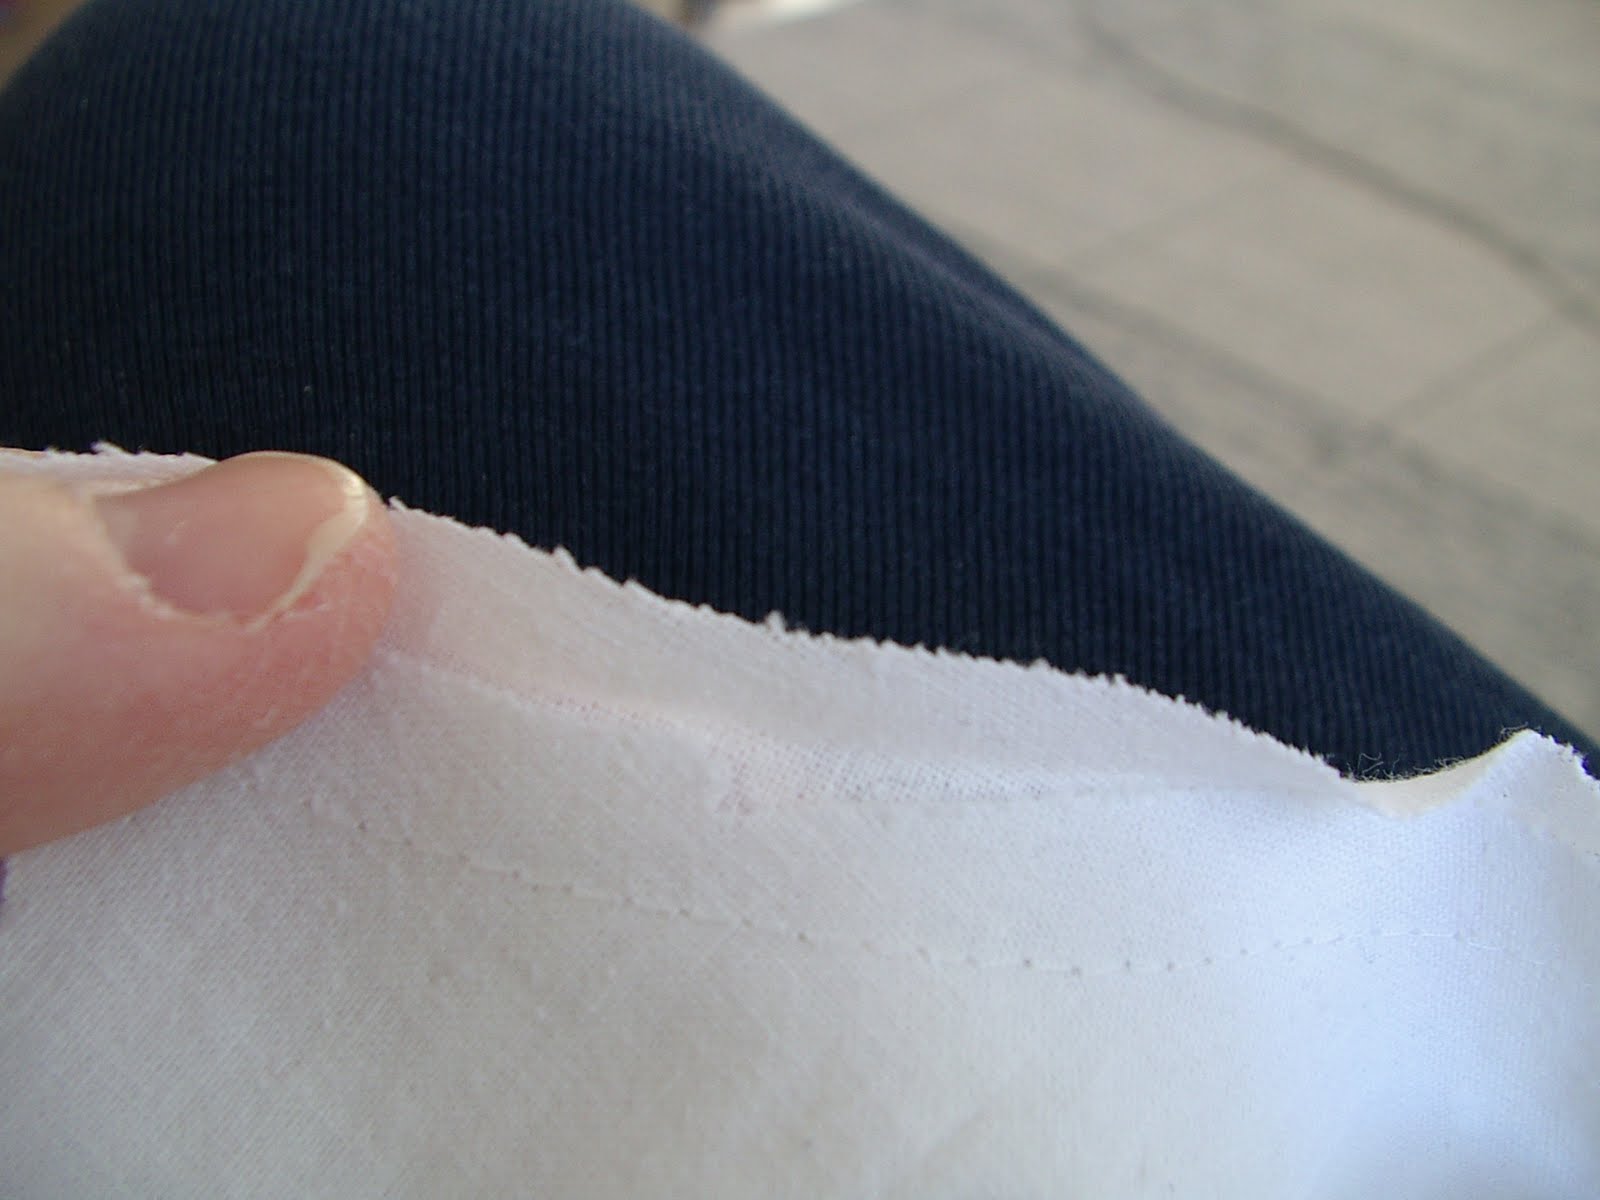 Open the folded edge and refold it over the raw edges.
 Pin the edge down. (Yes I know I use a lot of pins but with bad eyesight and winter sunlight I'd rather do as little unpicking as possible.)
 On the wrong side topstitch close to the loose edge. I sewed from one end to the other. When I come to a thicker part I use this handy bump helper first before the bump and then after it.
 First sleeve done.